Our Honeywell Evohome Installation Guide -
With more and more consumers wanting to tap into the smart controls market, installers are faced with an increasing number of new and retrofit smart installations. Installers without prior experience of connected controls might find the prospect daunting, but in reality a small amount of training makes these installations quick and easy.
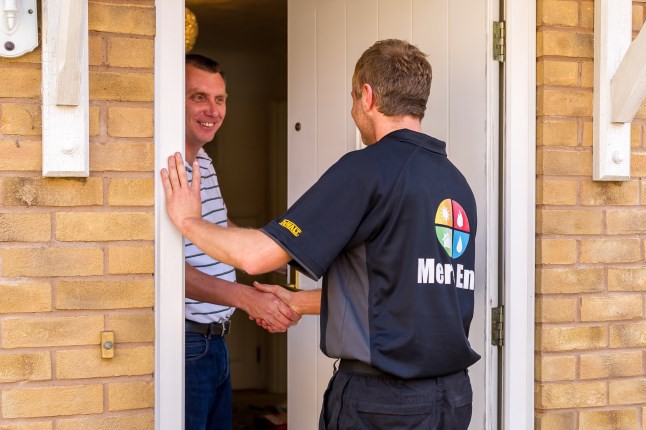
Here Andy Mansfield, Marketing Manager at Honeywell UK and Steven Hancock of Mere End Consultants talk through the ease of installation when it comes to smart controls.
Andy Mansfield - Honeywell Controls UK

“As an industry, we know that the future is smart, and we have seen a massive increase in the demand for smart heating controls over the past few years. The most common misconception from consumers is that smart controls are an expensive or big investment, leading them to assume that smart technology is out of reach, when in fact there are a range of smart controls available to suit all applications and property sizes it would be of benefit in the long run."
"Manufacturers need to educate installers on the ease of installing such controls – including upgrades and retrofits. This way they can add value for consumers, educating them on the underlining energy efficiency and convenience benefits or connected controls, as well as minimal disruption they cause to their homes."
“The truth is that smart heating is achievable for everyone, with controls on the market offering everything from an entry-level system to fully fledged multi-zone system.”
Steven Hancock - Plumb Arena & Mere End Consultants
“My business has seen a massive increase in consumers upgrading their heating controls from standard programmable room thermostats to smart controls."
“Consumers are really switched on when it comes to controlling their energy usage, monitoring their bills on a monthly basis. When they hear of products that can help reduce them even further, we have found that we’re the first point of call! "
“When we get one of those calls, we always go through the property specifications with the homeowner to find out what controls they already have and what they would like to get out of smart heating controls. Once we have all this information, we go through our system builder checklist in order to identify which heating control is best for them."
“Before installing the system, we like to carry out a functionality check to ensure the new control system will work in the home. Once this is done and we are happy with the best place to install the controller, we go through each zone to determine timings and temperatures for the system. Then it is time to draw up the heating plan. Once the customer is happy we source the products and get a date booked in for the installation.”
Installation Guide
This house already had two zones and a Megaflo unvented hot water cylinder, so we planned in a 12 zone heating and hot water system. The products needed for this installation were:
- x1 evohome controller
- 17 wireless radiator controllers
- A evohome hot water kit
- A evohome wall mounting kit
- 2 BDR relays (supplied with kit)
Step 1
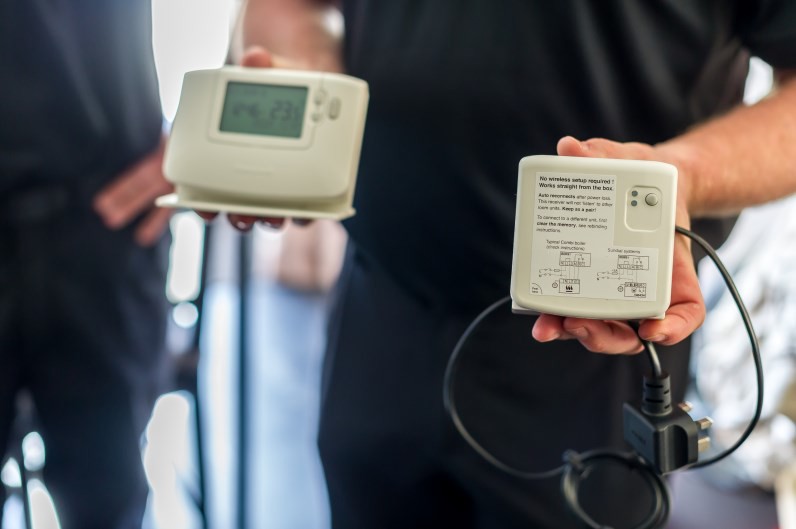
Before we start dismantling the boiler and the old controls in the home, we do a signal strength test using a wireless signal strength testing kit, consisting of a wireless thermostat and a BDR boiler relay.
We move to the furthest points throughout the house to check that the controls signal from the proposed controller location is received loud and clear.
Its a really good tip for installers of Evohome to have a signal strength test kit available at the point of survey to identify any potential issues before starting the installation work.
The vast majority of doemstic properties will be suitable for Honeywell connected wireless controls, but those properties that are very large, have foil-backed plasterboard or very thick stone walls can have a detremental effect on RF signal strength.
Step 2

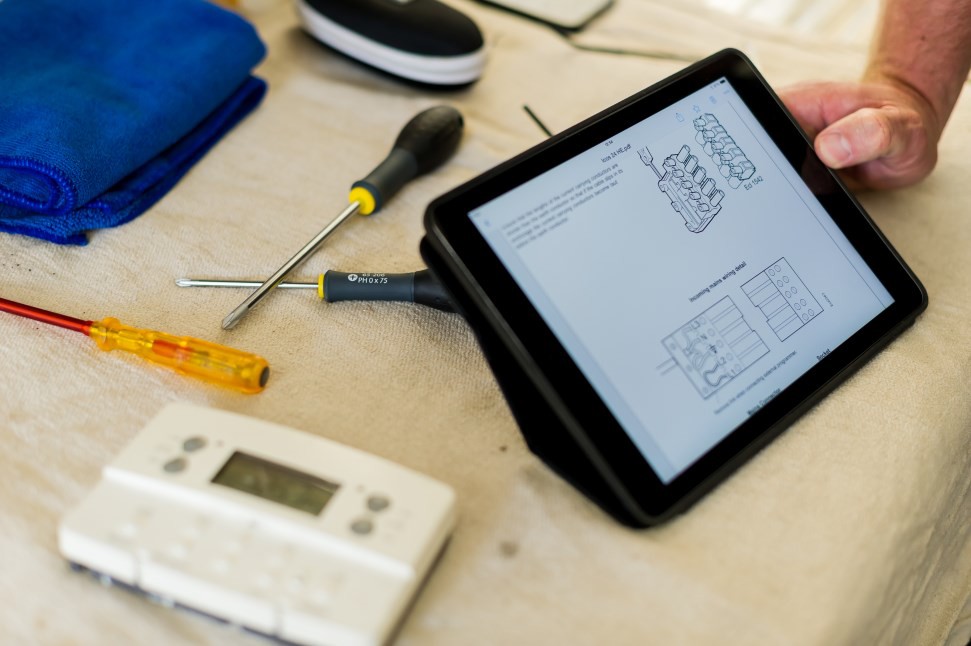
Once we are happy with the signal, we move on to checking out the existing wiring at the boiler, the programmer, the room and cylinder thermostats, and also the main wiring centre and zone valves located in the airing cupboard. Before proceeding, it’s important that we establish that the existing system is operating correctly.
Carrying out routine electrical checks makes life easier and is also important for safety. We trace the wires by exposing the timer and look for the switch’s live signal to the boiler. For best practice we label all the wires at the boiler and wiring centre adjacent to the hot water cylinder.
Note:
Before any smart control installation, installers should check the manufacturer’s installation instructions for the boiler and research the specific wiring requirements, especially where permanent live supplies for pump overruns are required. Also, any specific requirements for a hydraulic system bypass must be observed.
Step 3
Moving to the unvented Megaflo hot water cylinder, the existing system has three zone valves:
- One for domestic hot water – which remains operational
- And two heating zone valves – which we make redundant
To ensure the evohome system can operate to its full potential, we make the heating zone valves redundant (and locked in an open position), as new radiator controllers now cater for multi-zone control. We electrically isolate the heating zone valves to keep the system safe.
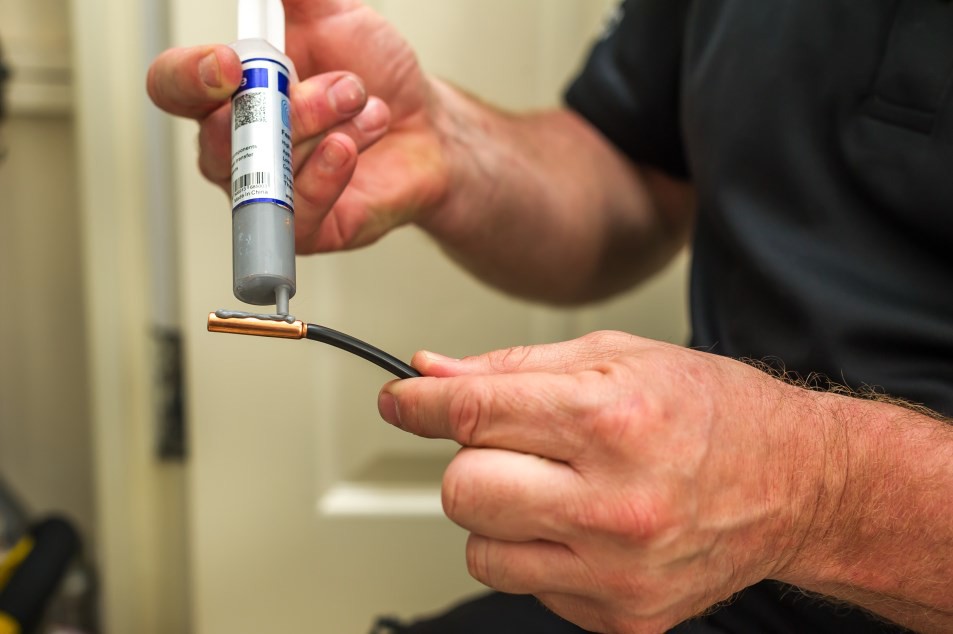
To allow integrated hot water control, we remove the existing redundant hot water cylinder thermostat and insert a new evohome NTC sensor in the Megaflo’s dry sensor pocket.
Note: Unvented hot water cylinders such as the Megaflo also have an integrated overheat thermostat wired in series with the cylinder thermostat.
This de-energises the hot water zone valve in the event of an overheat fault. It is vital that we maintain the functionality of the overheat thermostat and it should be rewired in exactly the same way. Functionality checks following completion are really important to ensure that this safety feature is not compromised and remains fully functional.
Step 4
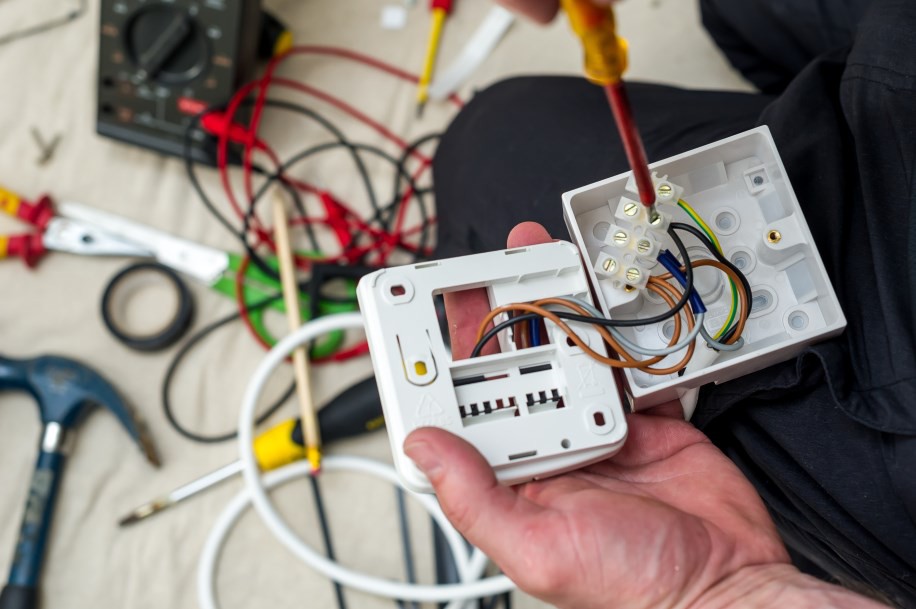
Now it’s time to fit the hot water sensor transmitter, which provides the wireless transmission between the cylinder and the evohome controller. We also install wireless BDR relays to switch the boiler live supply and to operate the hot water zone valve. For ease of installation and appearance, we use single gang pattress boxes for transmitter and BDR relays. It’s important to keep transmitters and BDR relays at least 30cm apart to avoid any signal interference.

The great thing about evohome, is that it simplifies the whole wiring system. Trunking the wires and labelling them within the wiring centres keeps the install neat and helps to make life easy if any future work needs to be carried out on the system.
We also ensure that we carry out pre-comissioning electrical checks to ensure that we maintain correct polarity, earth continuity and no short circuits. We also ensure that the required 3 amp fuse is fitted in the spur.
Step 5
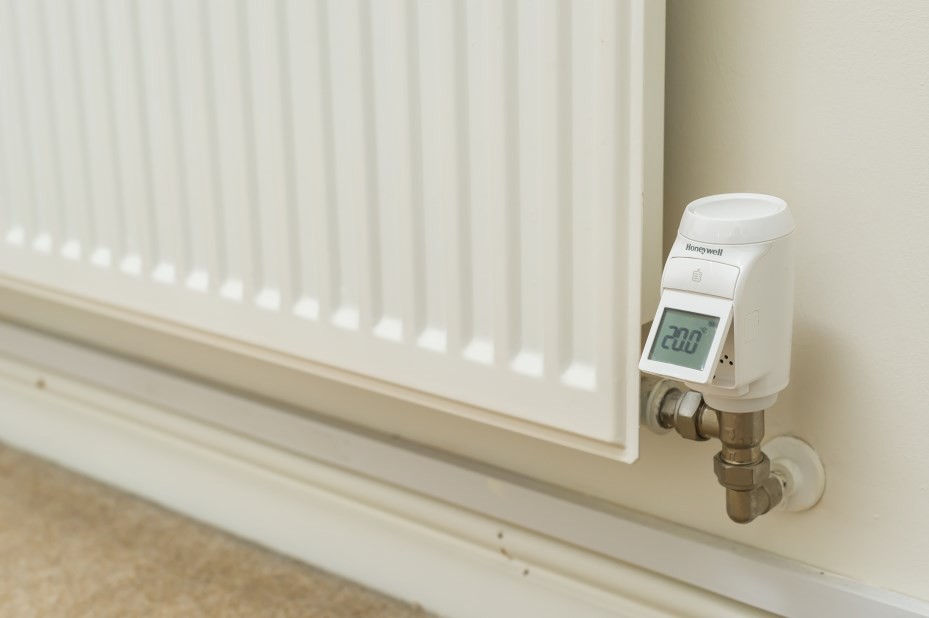
Once all the wiring in the system is complete, we move onto the radiators and fitting the wireless radiator controllers. It’s always important to check whether the radiator controllers need additional adaptors or if they can simply be screwed onto the existing TRV using the standard M30 adaptor supplied with each radiator controller. It’s worth checking out this requirement at the survey stage, so that you can be sure to have all the parts you need to install.
Step 6
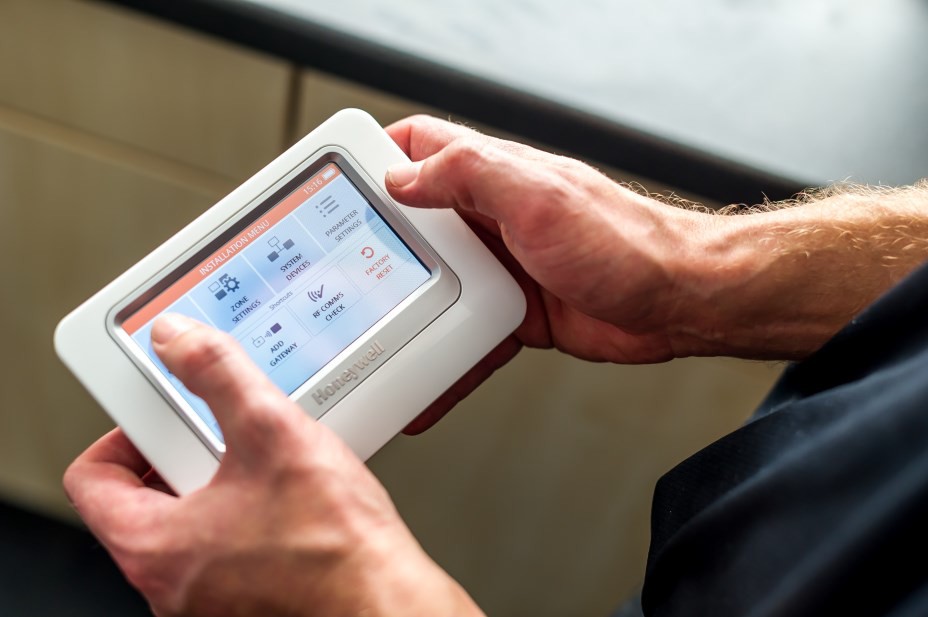
Once all the radiator controllers are in place, they are ready to bind to the main evohome controller. Consulting the heating plan and the homeowners, we name the zones in the home.
It is best to clear the evohome controller of all pre-programmed zones and replace them with the ones that you have agreed with the customer, for added usability.
It's this stage that really makes the Evohome System a unique and bespoke control system for the customer. Zone labelling such as 'Johns Room' rather than 'Rear Bedroom' really customises the installation and makes it meaningful for the customer.
Step 7
Once this is all programmed in, it’s simply a case of pairing the zone with the relevant radiator controller. It’s always best to refer to the heating plan as a cross reference.
In seven simple steps we have retrofitted a two-zoned, four bedroom house into a 12 zoned heating solution with a controllable hot water system. And the best bit....? The installation of the evohome system will aid in saving up to 40% on their energy bills, leaving us with a very happy customer.
For more information please visit www.honeywelluk.com
For more information on Mere End Consultants please visit www.mereendconsultants.co.uk